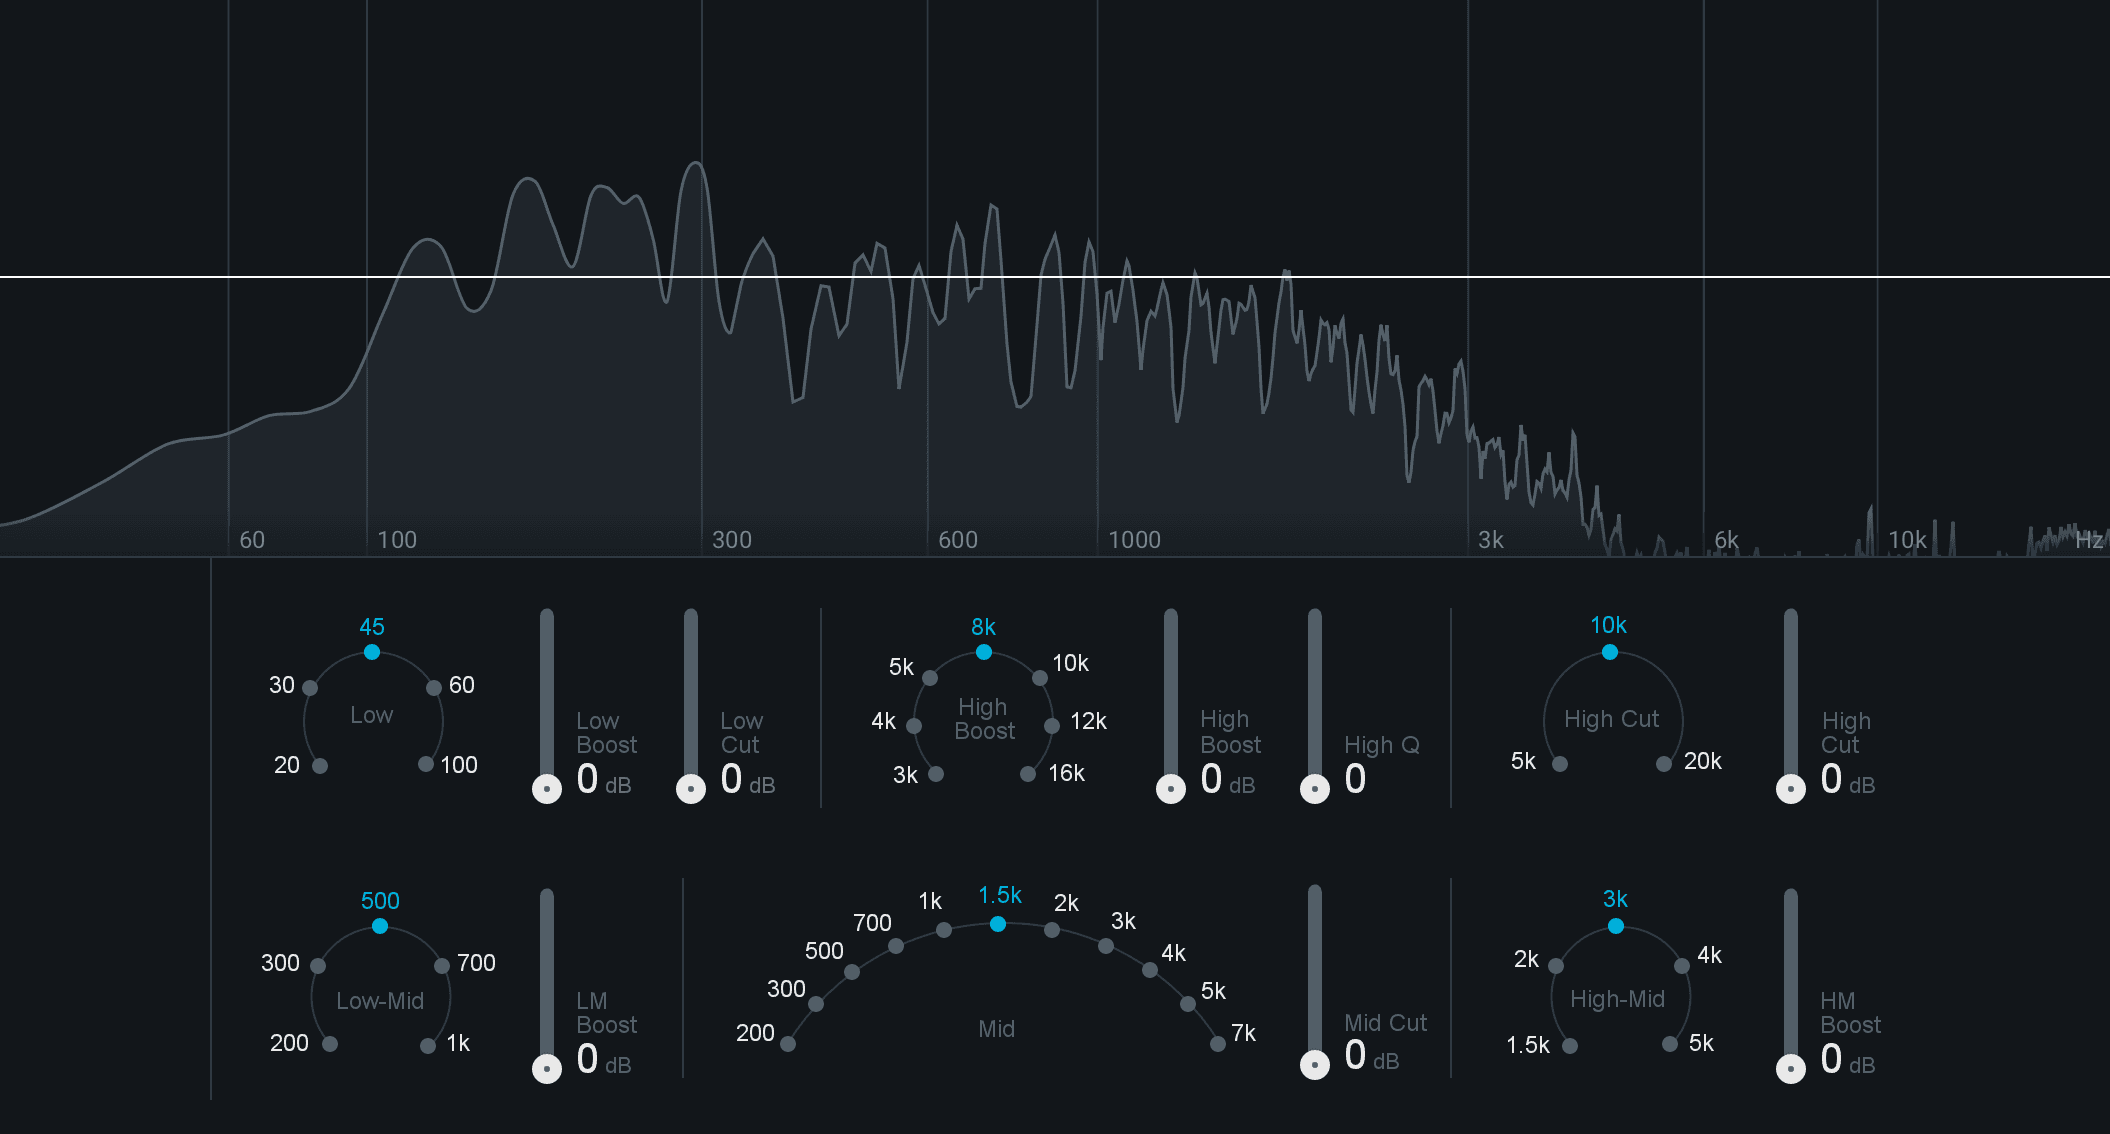
Equalization (EQ) is the musical equivalent of a sculptor’s chisel. Just as a sculptor shapes marble into a masterpiece, EQ lets you carve your sounds.
It’s the secret sauce that transforms a muddy track into something that feels polished and professional.
But let’s be real—EQ can also feel like trying to assemble IKEA furniture without the manual. With so many knobs, sliders, and frequencies, it’s easy to feel overwhelmed. Fear not! This guide is here to demystify EQ, break it down, and give you the tools to wield it like a pro.
By the end of this article, you’ll not only understand EQ but also feel confident enough to use it creatively. Let’s dive in and start shaping your sound!
What Is EQ?
Imagine your mix as a bowl of soup. EQ is like seasoning—it lets you add salt where it’s needed, remove excess spice, and balance the flavors so every ingredient shines. Without EQ, your mix can end up with too much salt or not enough salt.
Every sound you hear is made up of frequencies.
- Low frequencies give us bass and warmth,
- Mid frequencies carry the meat of most instruments and vocals
- High frequencies add brightness and air.
EQ lets you manipulate these frequencies to make your track sound the way you want.
Types of EQ and Their Applications
Not all EQs are created equal. Each type has its unique personality and purpose. Let’s meet the main players:
1. Parametric EQ: The Precision Surgeon
Parametric EQ is like a scalpel in the hands of a skilled surgeon—precise, versatile, and indispensable. It allows you to adjust specific frequencies with pinpoint accuracy, making it ideal for both subtle tweaks and surgical fixes.
• Best Use: Cutting out problematic frequencies, like a nasal tone in a vocal or a resonant hum in a guitar.
• Pro Tip: Use a narrow Q (more on Q later!) to isolate and remove unwanted frequencies without affecting the surrounding audio.
2. Graphic EQ: The Visual Artist
Graphic EQ is the paint-by-numbers version of equalization. It presents you with sliders for fixed frequency bands, making it easy to visualize and adjust your sound.
• Best Use: Broad tonal adjustments, especially in live sound where speed and simplicity are key.
• Pro Tip: Think of each slider as a brushstroke—small adjustments can create a big picture
3. Shelving EQ: The Bookends
Shelving EQ is like adding bookends to your sound, boosting or cutting all frequencies above (high shelf) or below (low shelf) a specific point.
• Best Use: Adding brightness to vocals or removing excessive low-end rumble from a guitar.
• Pro Tip: Use a high shelf to add “air” to your mix without making it harsh.
4. Dynamic EQ: The Hybrid Genius
Dynamic EQ is the multitasker of the EQ world, combining equalization with compression. It adjusts frequencies dynamically based on the audio signal, giving you control that adapts to your mix.
• Best Use: Controlling sibilance in vocals or taming harsh cymbals.
• Pro Tip: Use dynamic EQ to address problems that only occur during loud or soft sections.
5. Linear Phase EQ: The Mastermind
Linear phase EQ is the philosopher of EQs—deep, thoughtful, and reserved for mastering. It ensures that phase relationships between frequencies remain intact, making it perfect for subtle adjustments in the final mix.
• Best Use: Mastering and tasks where transparency is critical.
• Pro Tip: Save this one for when your mix is almost done—it’s more about finesse than bold moves.
Understanding the Frequency Spectrum
To use EQ effectively, you need to understand the frequency spectrum. Think of it as the canvas where your sounds live. Here’s a breakdown:
Low Frequencies (20–200 Hz): The Foundation
This range is where the bass lives, providing warmth, power, and impact. It’s the thud of a kick drum, the growl of a bass guitar, and the rumble of sub-bass.
• What to Watch For: Too much low end can make your mix muddy.
• Pro Tip: Use a high-pass filter to remove unnecessary low frequencies from non-bass instruments.
Mid Frequencies (200–5,000 Hz): The Heart
The mids are where most of the action happens—vocals, guitars, and pianos all dominate this range. This is the storytelling zone, where clarity and emotion shine.
• What to Watch For: Crowding in this range can make your mix sound boxy or nasal.
• Pro Tip: Use small cuts to carve out space for each element.
High Frequencies (5,000–20,000 Hz): The Sparkle
This is where the brightness, air, and detail live. It’s the shimmer of cymbals, the breath in a vocal, and the sparkle of a synthesizer.
• What to Watch For: Overdoing it can make your mix harsh and fatiguing.
• Pro Tip: Add a gentle high shelf to bring life to dull recordings.
Sub Frequencies (Below 20 Hz): The Earthquake
These are the ultra-low frequencies that you feel more than hear. They can add weight and impact but need to be used sparingly.
• What to Watch For: Too much sub can overwhelm your mix and your speakers.
• Pro Tip: Use a steep high-pass filter to remove sub frequencies from tracks that don’t need them.
Key EQ Settings
EQ controls might look intimidating at first, but each one has a specific role in shaping your sound. Let’s decode them:
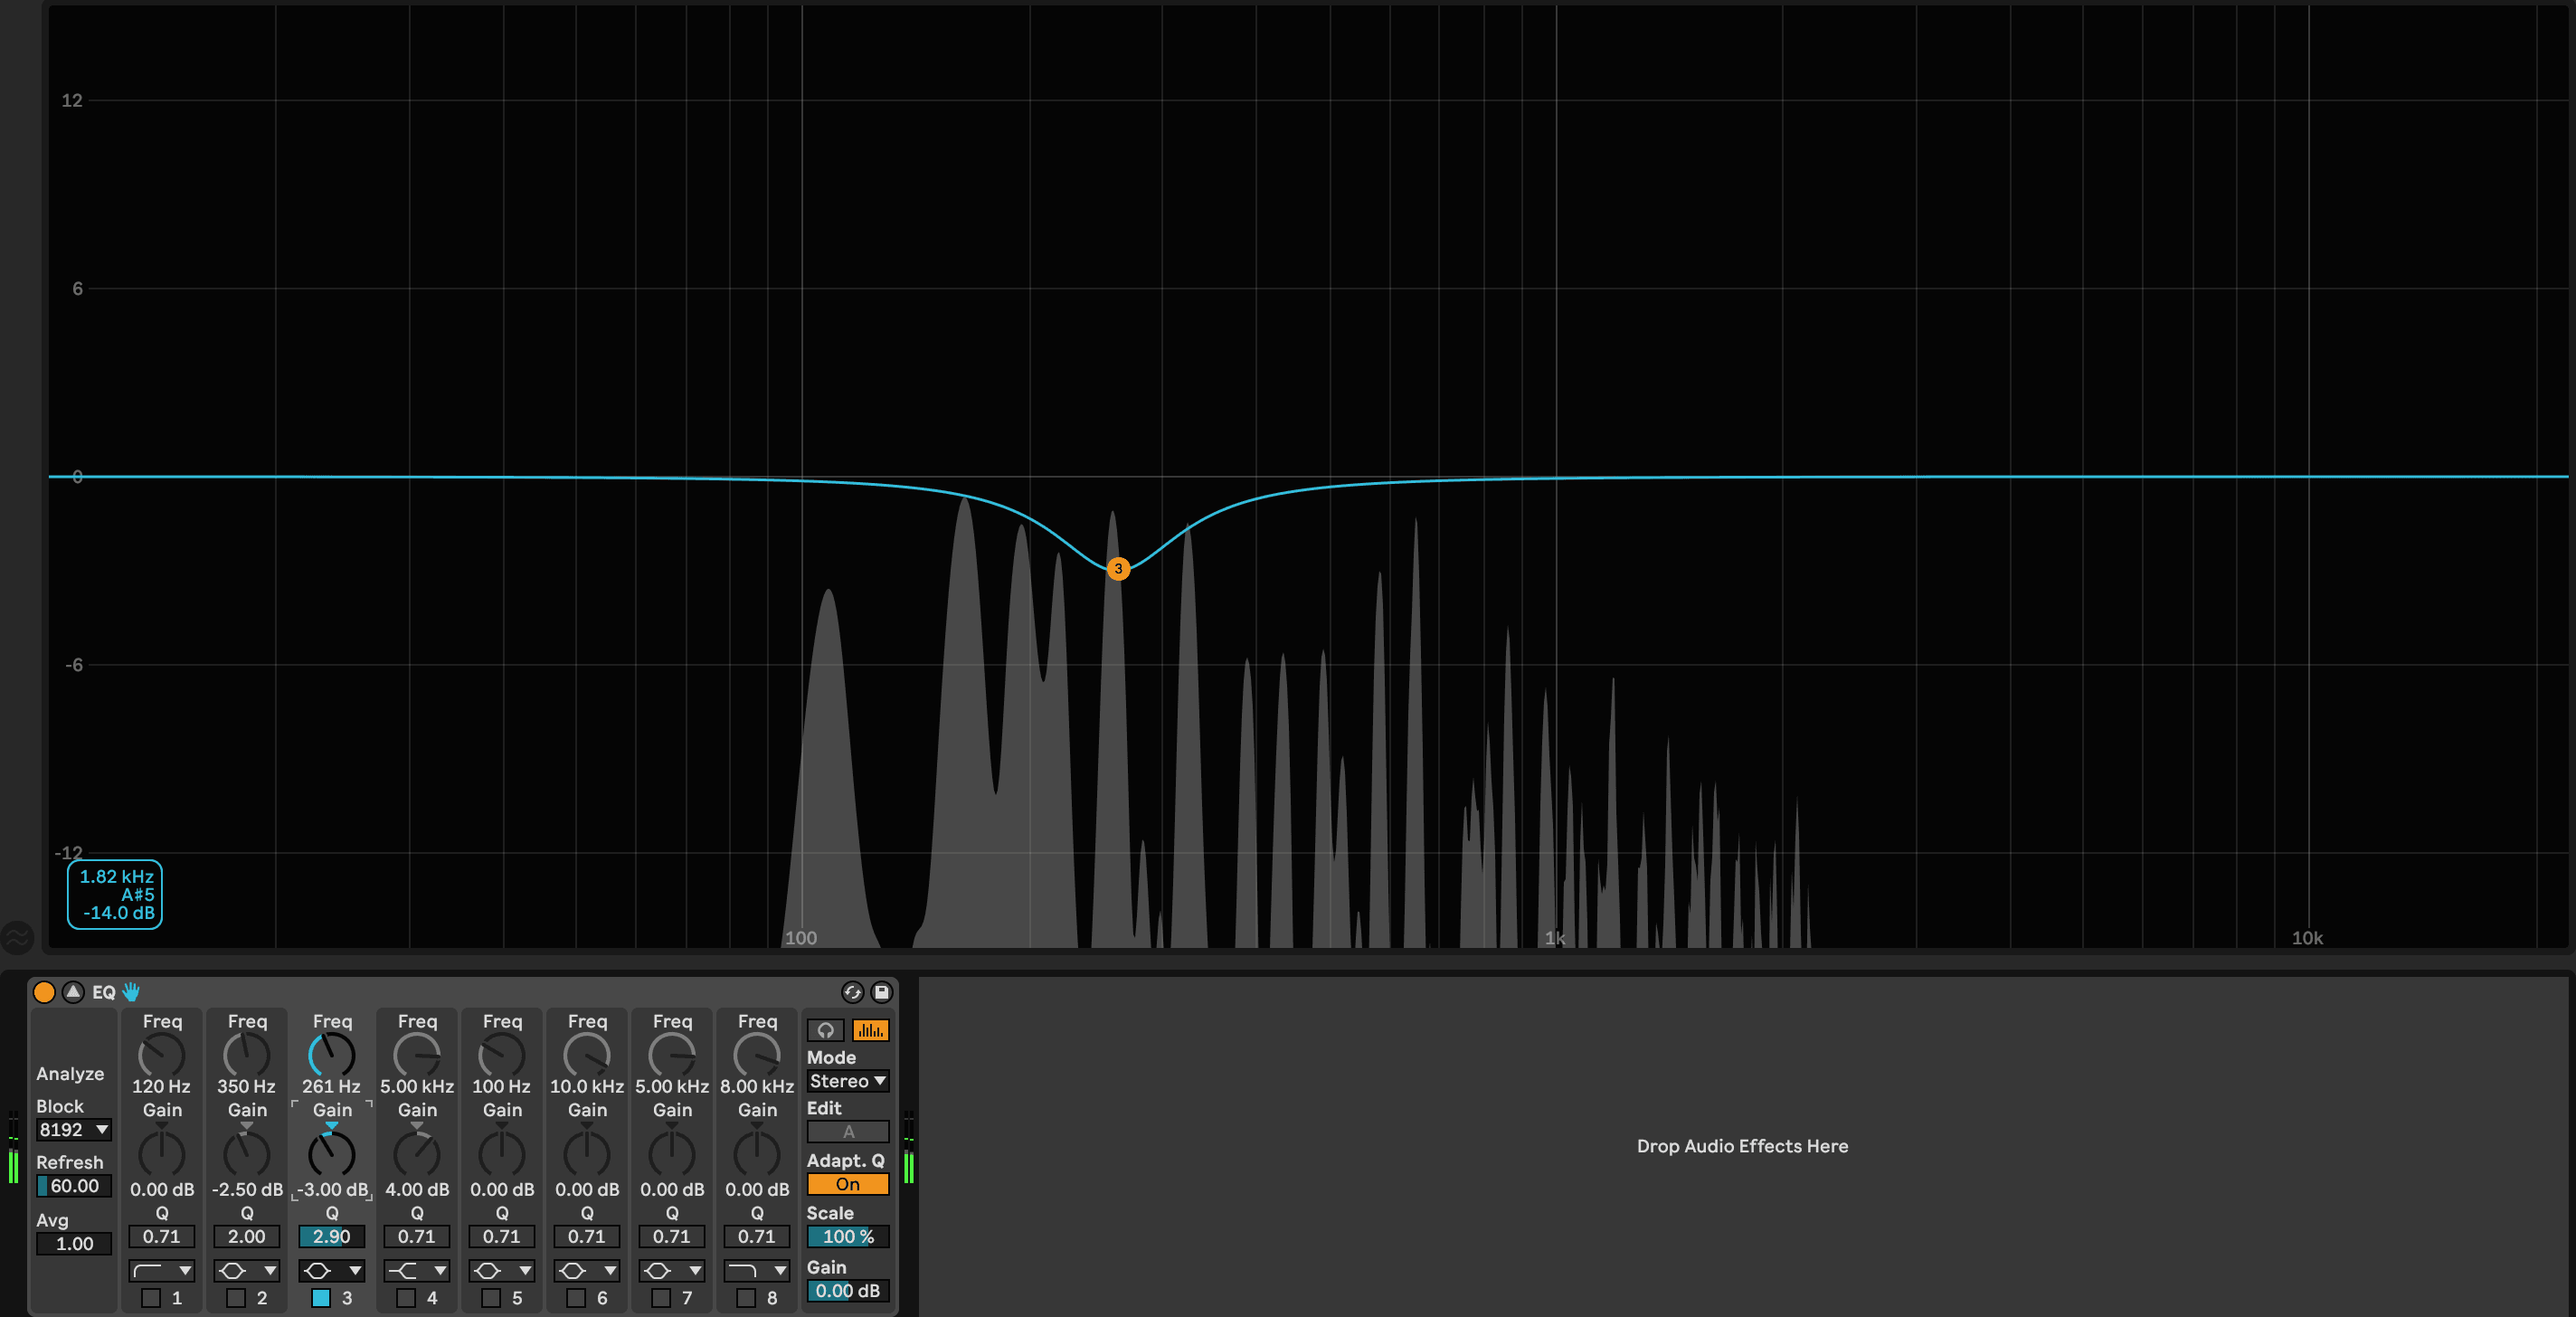
1. Gain
Gain controls how much you boost or cut a specific frequency. Think of it as a volume knob for individual parts of the spectrum.
• How to Use It: Boost to emphasize or cut to de-emphasize.
• Pro Tip: Start with small adjustments—around 1–3 dB is often enough.
2. Frequency
This selects which part of the spectrum you’re adjusting. It’s like choosing a radio station to tune in on.
• How to Use It: Sweep through frequencies to find problem areas or sweet spots.
• Pro Tip: Use a narrow Q for precise adjustments and a wide Q for broad tonal shaping.
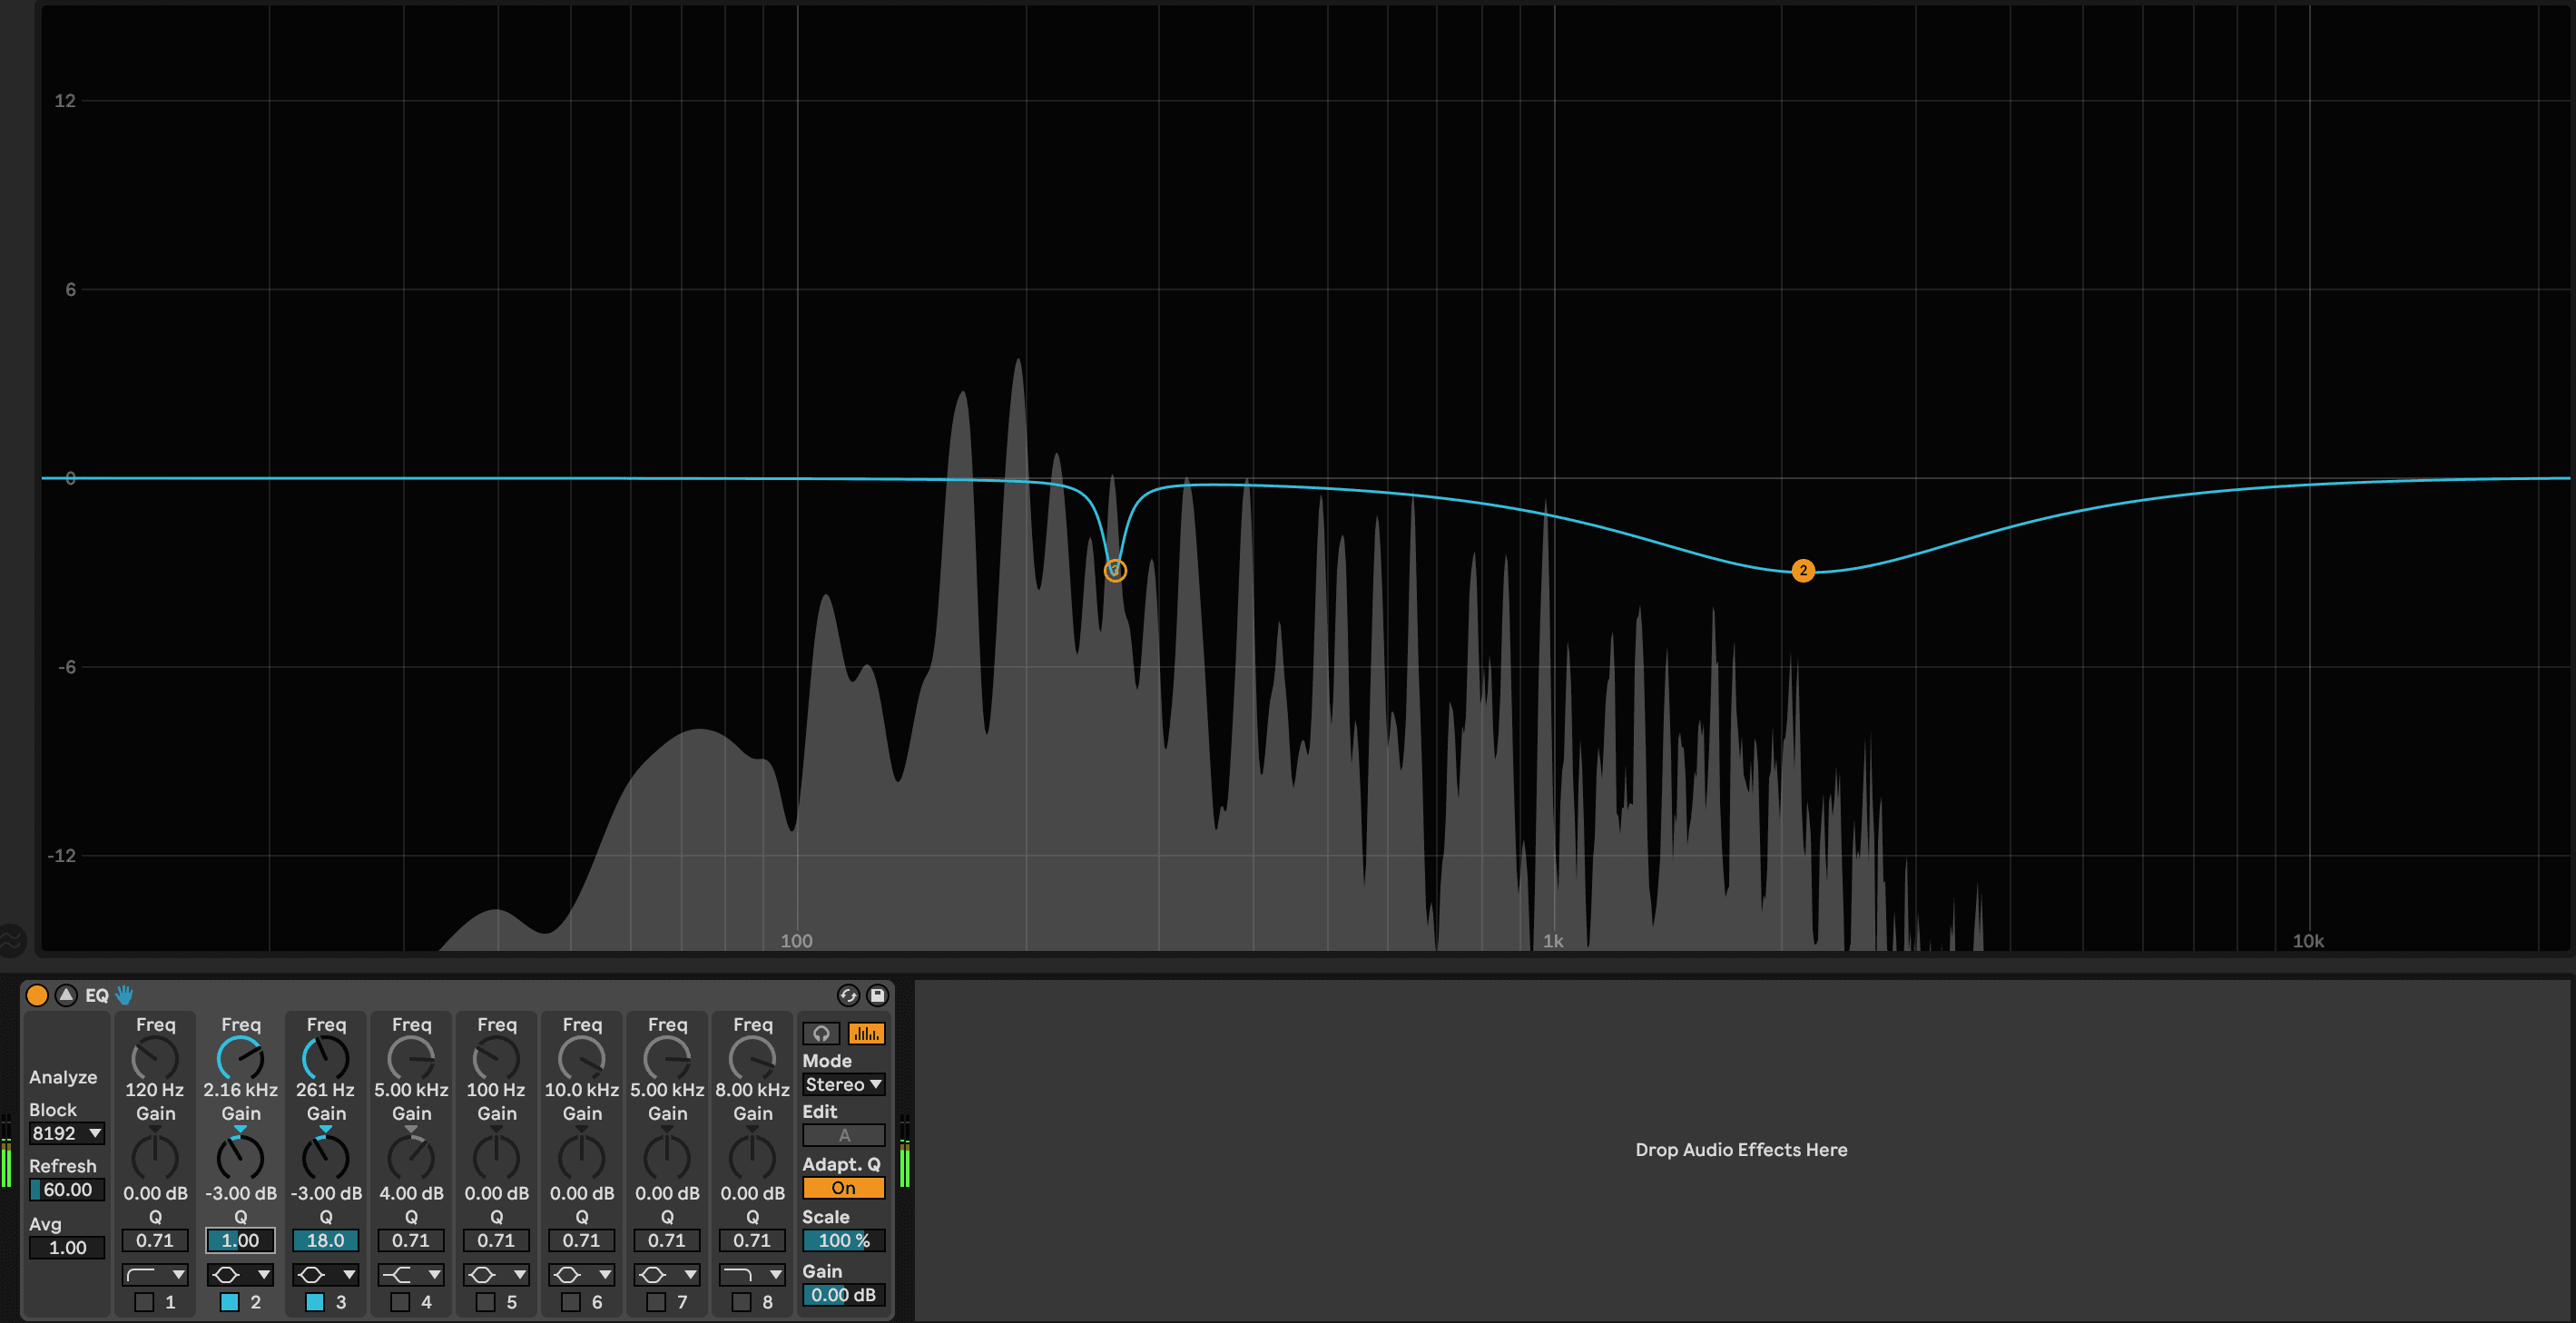
3. Q Factor
The Q factor determines the range of frequency you are adjusting. It's the size of your paintbrush.
• How to Use It: Narrow Q for surgical cuts (e.g., removing a hum) and wide Q for gentle boosts.
• Pro Tip: Visualize the Q as the size of your paintbrush—small for detail, large for broader strokes.
4. Filter Types
Filters shape how frequencies are adjusted. Here are the main ones:
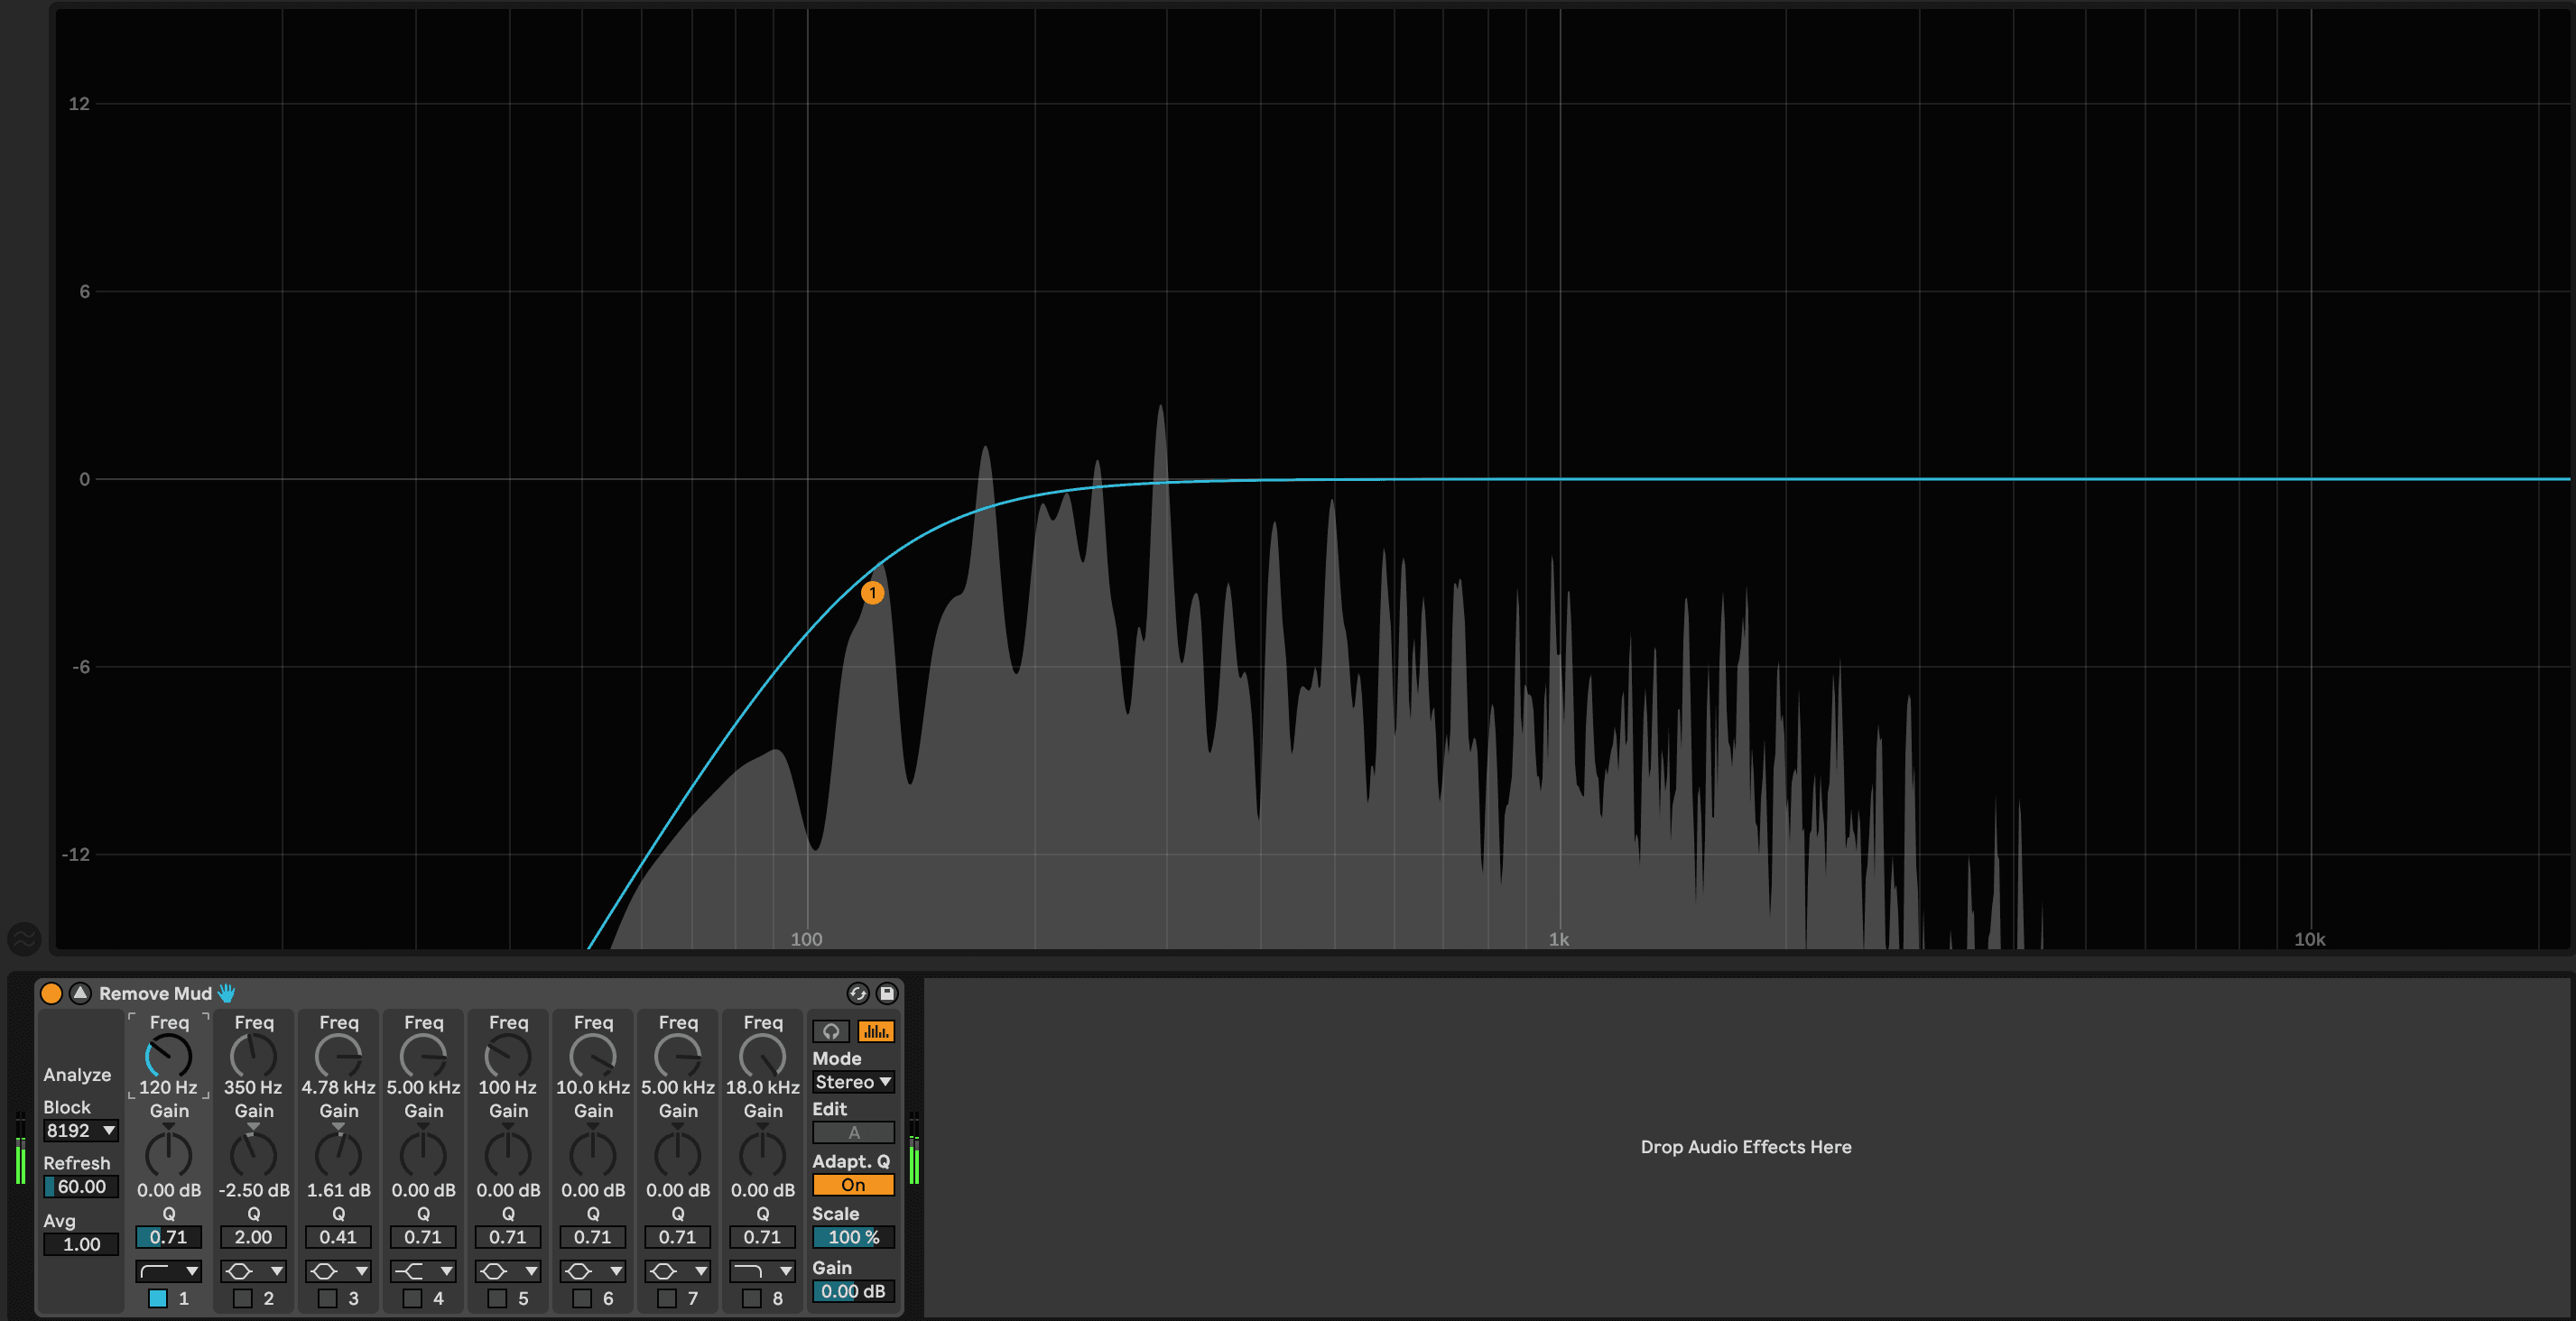
• High-Pass Filter: Removes everything below a certain frequency. Great for cleaning up rumble. Only allowing the highs to pass.
• Low-Pass Filter: Removes everything above a certain frequency. Ideal for creating lo-fi effects. Only allowing the lows to pass
• Band-Pass Filter: Focuses on a narrow range of frequencies, useful for creative sound design.
• Notch Filter: Cuts out a specific frequency, perfect for eliminating hums or resonances.
Practical Tips for Using EQ
EQ is like cooking—you can have all the right ingredients, but without a recipe (or a little practice), things might get messy. These tips will help you approach EQ like a master chef, balancing the flavors of your mix.
1. Cut Before You Boost
Think of cutting frequencies as decluttering a room. Before you bring in shiny new furniture (boosts), you need to get rid of the junk. Cutting unwanted frequencies clears space for the important elements in your mix.
• Example: If a vocal sounds muddy, try cutting around 200–400 Hz instead of immediately boosting the highs.
• Pro Tip: Your boosts will sound more natural when the track isn’t overloaded with unnecessary frequencies.
2. Use Reference Tracks
When in doubt, compare your mix to a professional track in a similar style. It’s like having a map when you’re lost in the woods—reference tracks guide your EQ decisions and help you stay on course.
• Pro Tip: Pay attention to the balance of bass, mids, and highs. Aim for a similar tonal profile without copying.
3. EQ in Context
Soloing a track can help you hear problem frequencies, but always make your final EQ adjustments while listening to the full mix. EQ is about making everything work together, not just making one element sound good on its own.
• Pro Tip: A guitar that sounds incredible soloed might clash with the vocal in the mix. Context is king!
4. Avoid Over-EQing
If you find yourself making dozens of tiny tweaks, step back. Over-EQing is like putting too much makeup on—it can obscure the natural beauty of the sound.
• Pro Tip: Subtle, intentional moves usually work better than aggressive, sweeping changes.
5. High-Pass Filtering
A high-pass filter is your best friend for cleaning up low-end rumble that doesn’t belong. It’s like sweeping the floors before you throw a party—nobody notices the effort, but it makes everything better.
• Example: Apply a high-pass filter to vocals, guitars, and synths, cutting everything below 80-200 Hz to leave room for the bass and kick. Use your ears when cutting!
Common EQ Techniques
Now that you’re armed with the basics, let’s talk about how EQ can enhance specific elements of your mix.
1. Vocals: Bring Them Front and Center
Vocals are the star of the show, so they need to shine. EQ can help make them clear, present, and emotional.
• What to Do:
• Cut low frequencies (below 100 Hz) to remove rumble.
• Reduce muddiness with a slight cut around 200–400 Hz.
• Boost clarity with a gentle lift around 2–5 kHz.
• Add air with a high shelf above 10 kHz.
2. Drums: Add Punch and Impact
Drums provide the energy and groove of your mix. EQ lets you shape their tone and ensure they stand out without overpowering.
• Kick Drum:
• Boost around 60–80 Hz for weight.
• Cut 200–400 Hz to reduce muddiness.
• Add attack with a boost around 2–4 kHz.
• Snare Drum:
• Cut low frequencies to avoid rumble.
• Boost 1–3 kHz for crack and presence.
• Add sparkle with a gentle high-shelf boost.
3. Guitars: Make Them Sing
Guitars can easily get lost in the mix, especially when competing with vocals or synths. EQ helps them cut through.
• What to Do:
• Cut 200–400 Hz to remove boxiness.
• Boost around 3–6 kHz for presence.
• Add brightness with a high shelf above 8 kHz.
4. Bass: Tighten the Foundation
The bass holds everything together, but too much low end can overwhelm your mix.
• What to Do:
• Boost 50–80 Hz for depth and warmth.
• Cut around 250 Hz to reduce muddiness.
• Add definition with a gentle boost around 1–2 kHz.
5. Master Bus: Glue It All Together
On the master bus, EQ is about subtlety. It’s the icing on the cake, not the whole dessert.
• What to Do:
• Apply broad, gentle boosts or cuts to balance the mix.
• Use a linear-phase EQ for transparency.
• Avoid aggressive moves—master bus EQ is for final polish.
EQ in Different Contexts
EQ isn’t a one-size-fits-all tool. The way you use it depends on the context. Let’s explore how EQ techniques vary in mixing, mastering, live sound, and sound design.
1. Mixing: Finding Balance
In mixing, EQ is all about making space. Think of your mix as a crowded room—EQ helps each instrument find its spot without stepping on someone else’s toes.
• Tip: Use subtractive EQ to carve out overlapping frequencies and create separation between elements.
2. Mastering: Final Touches
Mastering EQ is like buffing a car after a fresh paint job—it’s subtle but crucial. Small adjustments can enhance the overall tonal balance and make your mix shine across different playback systems.
• Tip: Focus on broad strokes and avoid drastic changes. The mix should already sound good before mastering.
3. Live Sound: Adapt and Conquer
In live sound, EQ is your defense against feedback and venue acoustics. It’s less about perfection and more about adaptability.
• Tip: Use graphic EQ to quickly eliminate problem frequencies caused by the room.
4. Sound Design: Go Wild
In sound design, EQ becomes a creative tool. Boosting or cutting frequencies can drastically change the character of a sound.
• Tip: Experiment with extreme settings to craft unique textures and tones.
Common EQ Mistakes to Avoid
Even seasoned producers can fall into EQ traps. Here are some common mistakes and how to avoid them:
1. Boosting Too Much
Over-boosting can make your mix sound unnatural and fatiguing. Remember, EQ is about balance, not turning everything up to 11.
• Solution: Start with small adjustments (2–3 dB) and use your ears to judge the results.
2. Neglecting the Low End
It’s tempting to focus on the shiny highs and mids, but the low end is the foundation of your mix.
• Solution: Use high-pass filters to clean up rumble and ensure the bass and kick have their own space.
3. Soloing Too Often
Soloing a track is helpful for identifying issues, but EQ decisions should always be made in the context of the full mix.
• Solution: Listen to how your changes affect the overall balance.
4. Over-EQing
Too many tweaks can rob your mix of its natural character.
• Solution: If you find yourself endlessly tweaking, reset and approach the problem with fresh ears.
Sculpting Your Sonic Masterpiece
EQ is more than just a technical tool—it’s an art form. It allows you to shape your sound, create space, and bring out the best of every element of your mix. Whether you’re fixing a muddy vocal, making a kick drum punch harder, or adding sparkle to a synth, EQ is the magic wand that brings your vision to life.
The key to mastering EQ is practice, patience, and trust in your ears. Don’t be afraid to experiment and make mistakes—that’s how you learn. Over time, you’ll develop an instinct for what your mix needs and how to make it shine.
So, go forth and sculpt your sonic masterpiece. And remember, every mix is a new adventure. Happy EQing! 🎛️✨
Interested in learning more about music production? Check out our blog on compression!
